Disclaimer: This feature is only available to customers who are enrolled in the MRC+ subscription.
Note: Not all MyRadCare user will have access to add an E-Siguatures to a Dose report or Form 5. If you do not have access please contact your MyRadCare Admin or RDC.
All reports will be stored within the Reports & E-Signatures suite for customers enrolled in MyRadCare+.
-
Log into MyRadCare
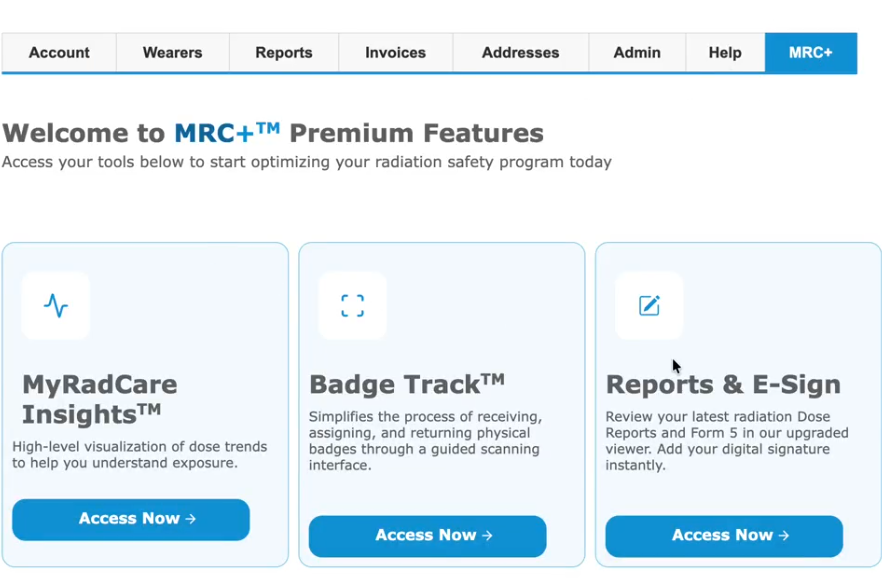
- Navigate to the MRC+ tab
- Select the 'Reports and E-Signature' tile
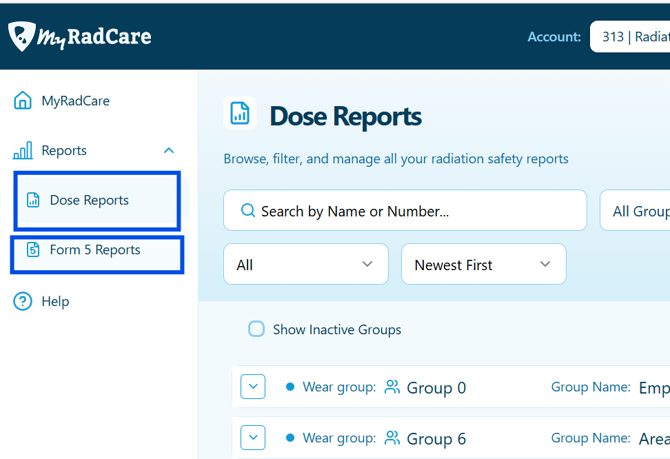
- You will land on the 'Dose Reports' tab. Select the tab labeled 'Form 5 Reports' on the left hand side
- All previous created Form 5's will appear on this page.
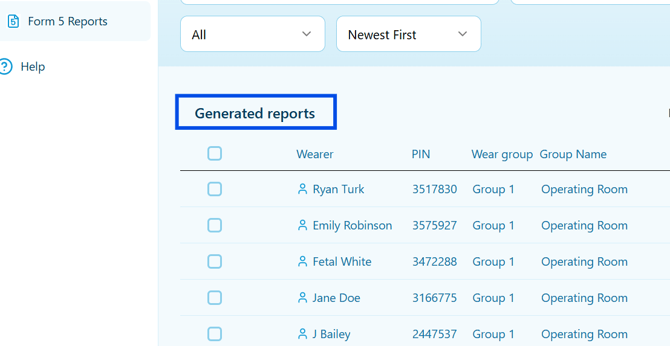
Filter options
-
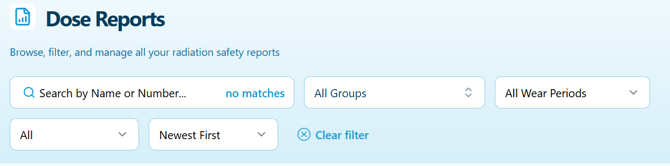
You can use filters to quickly locate your Form 5 report.
- Search by Group name or number using the search by field
- Filer by Group or Wear Period
- Search by New, Ready to sign, or Signed
- Filter by newest or oldest reports
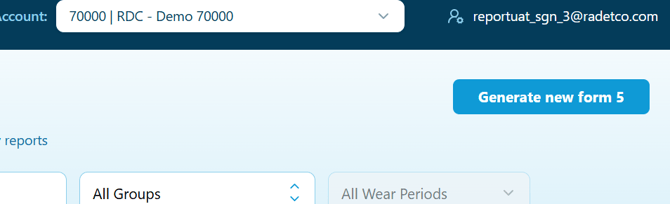
If you have more than one account you can change account by filtering at the top of the page.

How to create a Form 5
- Click the button labeled ' Generate new form 5' on the top right hand corner of the page
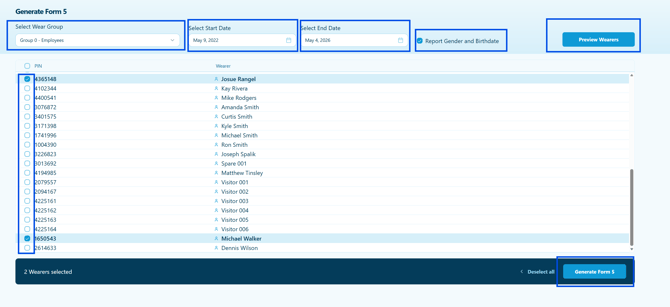
- Select the 'Wear Group', 'Start date', and 'End date'. Select the check box titled 'Report gender and Birthdate' if you would like these field to appear on the Form 5.
- Click 'Preview Wearers' button
- A list of wearer matching the criteria entered will appear. Select the wearers you would like to create a Form 5 for.
- Once wearers are selecte click the 'Generate For 5' button at the bottom of the screen.
- Wait a few minute and refresh the page. New Form 5's will appear at the top of the list and will be label as 'New'.

Using E-Signature to sign an indivdual report
You are required to preview your Form 5 report before signing. After previewing the report the 'New' status will disappear.
-
Locate the report
- Click the 'View report' button under the 'Preview' section. Your report will open in a browser for you to review.
- Once reviewed navigate back to the For 5 Report page
- Click the 'Sign' button under 'Signed Status'
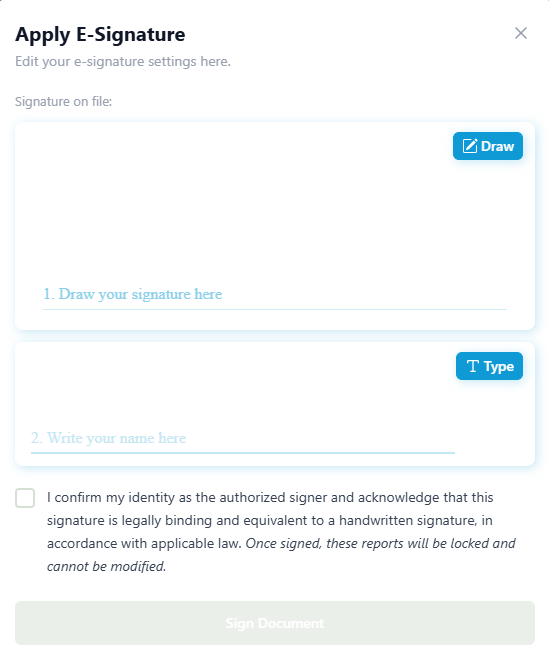
- Apply your E-signature by drawing and typing your name into the popup window. Check the confirmation box at the bottom. Then select the 'Sign Document' button
- Once completed you should receive a confirmation notice on the bottom right hand corner of the screen. The 'Signed Status' should update from 'Sign' to 'Signed'
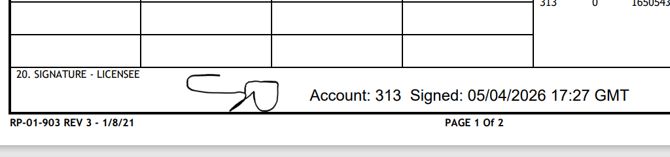
- The Signature will appear in box 20 at the bottom of the page.